How to Make a Snowy Gingerbread Cake Village
Oh my goodness! Who doesn’t love gingerbread houses? They are adorably cute and can be as unique as each individual person. See how to make a snowy gingerbread cake village for your next Christmas gathering.

Getting “Gingerbread” Inspired
Last year at school, we started our “12 Days of Christmas” celebration. Instead of buying individual gifts for everyone like we had done in the past, we each picked a date and gifted our group of counselors, principals, and office staff with a treat of some sort. You can see the linked post for all of the different ideas that came from it last year.
I was struggling this year to come up with what to do, when I saw a post from KariAnne with Thistlewood Farms, sharing her Gingerbread House Recipe and Pan. You can see all of her ideas for the decorations of these beautiful cakes in the link.
Immediately, I knew that this was the perfect way for me to celebrate our 2nd Annual 12 Days of Christmas.

How to Make a Snowy Gingerbread Cake Village
This is a very simple project, but the houses have such intricate details on each one. You just need a few supplies and ingredients and you are set to make a delicious gingerbread cake.
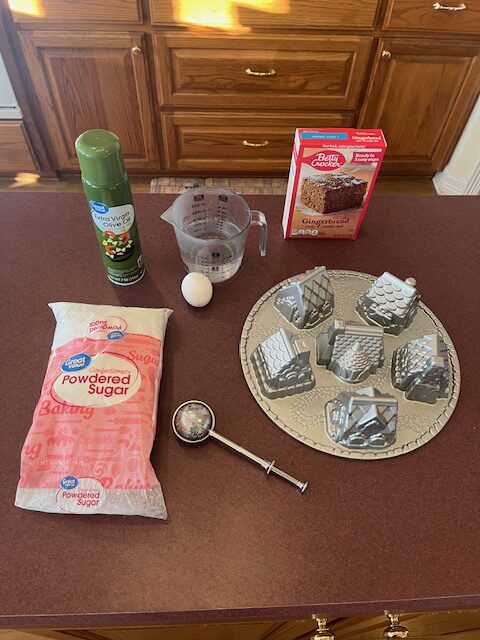
Supplies
- A Gingerbread Cake Nordicware Pan (Hand wash in soapy water before initial use – do not use abrasive cleaners on these pans.)
- Single Gingerbread House
- Gingerbread House Duet Pan
- Gingerbread Village Cake Pan – 6 Mini Houses (This is the one I chose, because I wanted everyone to have their own gingerbread house.)
- Powdered Sugar Duster (Or a sifter of some sort)
- 2 Baking Sheets
- Medium Bowl for Mixing & a Spoon
- Liquid Measuring Cup
- Butter or Cooking Spray with Flour
- If you choose to coat the pan with butter, you will also need a pastry brush.
Gingerbread House Cakes
Ingredients
Gingerbread Cake Recipe – Follow the Box Directions
Instructions
- Preheat the oven to 350 degrees.
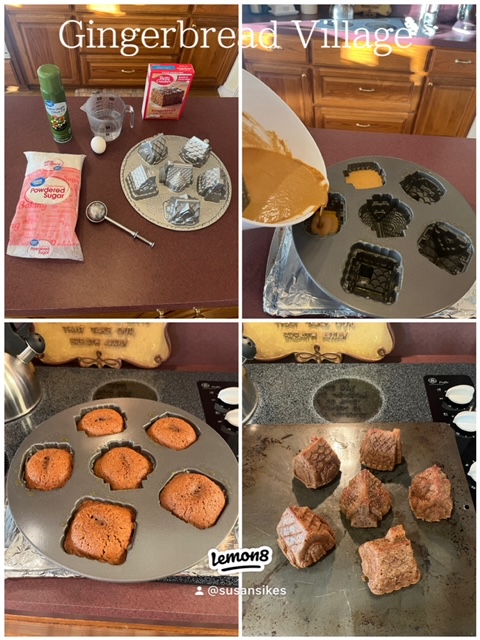
- Stir the Gingerbread mix, water, and the egg in the mixing bowl until it is blended well.
- The pan instructions say to brush the inside of the pan with butter and then lightly coat it with flour. It specifically says DO NOT spray with a cooking spray unless it is one with flour added. (I did a couple with butter and flour, one with butter and a coating of the cake mix, one without anything, and the 20 remaining cakes with regular cooking spray. They turned out fine – the cakes slid right out of the pan nicely, and they tasted great. I have purchased the spray with the flour in it for the next time though.)
- Pour the cake batter into the greased pan, leaving room at the top so the cake does not spill over when it expands.
- Place the gingerbread pan on a baking sheet to help it balance better, and bake according to the box directions. Since I chose the village and they are smaller, I let them bake for about 30 – 35 minutes.
- Remove the pan from the oven and set it aside for 1-2 minutes. Place a baking sheet on top of the cakes and the pan. Holding both the gingerbread house pan and the cookie sheet, carefully flip it over to invert the pan. Gently tap the top of the houses and then remove the pan, releasing the individual cakes onto the cookie sheet.
- Let the cakes cool before moving them, unless you want to eat them piping hot.
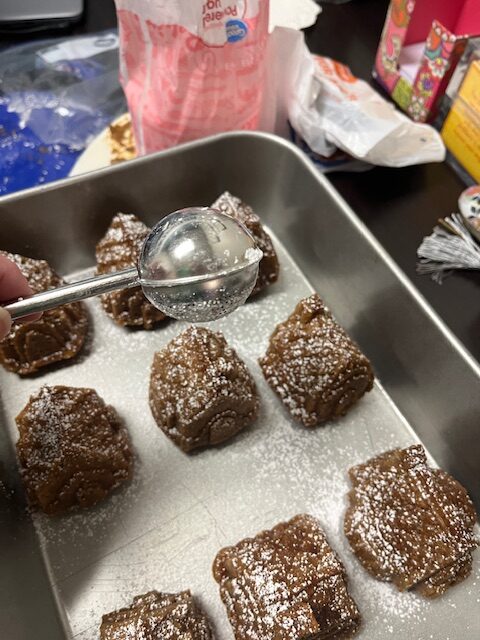
- After the gingerbread cakes are completely cool, use the sugar duster to make “snow” on the houses.
The cakes turned out beautifully, but I wasn’t sure what to expect as far as the taste was concerned. I was very pleased! Even though this is a boxed cake mix, it produced a very moist gingerbread cake. If you do not have one of the gingerbread house cake pans, it would be worth it to use this recipe in a regular Bundt pan. It really is a delicious cake!
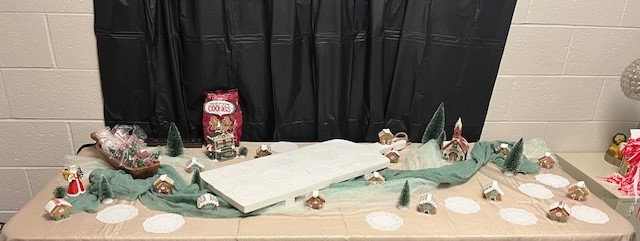
Putting the Gingerbread Village Together
This was the fun part of the project! You can get very creative with this; there are so many options!
Basic Items to Use in the Village
- Table coverings (tablecloths, scarves, throws, napkins, etc.)
- Paper Doilies or something to put the cakes on
- Boards, baskets, trays, bowls, or other serving pieces
Extra Items
- Ceramic Christmas Village Pieces
- Bottle Brush Trees
- Gingerbread House Mug Toppers (Costco)
- Gingerbread Cookies
- Extra Treats – Little Debbie Christmas Tree Cakes, Christmas Tree Brownies, or other Christmas cookies and treats
Other Thoughts & Ideas
- Add boxes or bowls underneath the tablecloth to add different levels to the landscape.
- Cover the area with mini marshmallows and little white pearl candies to give it the look of snow.
- Spread small twinkle lights throughout the village.

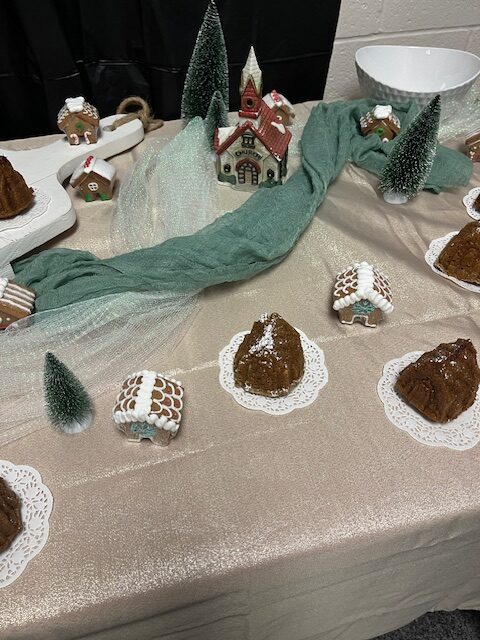
Here is the finished product:

My Next Plan for the Gingerbread Cake Villages
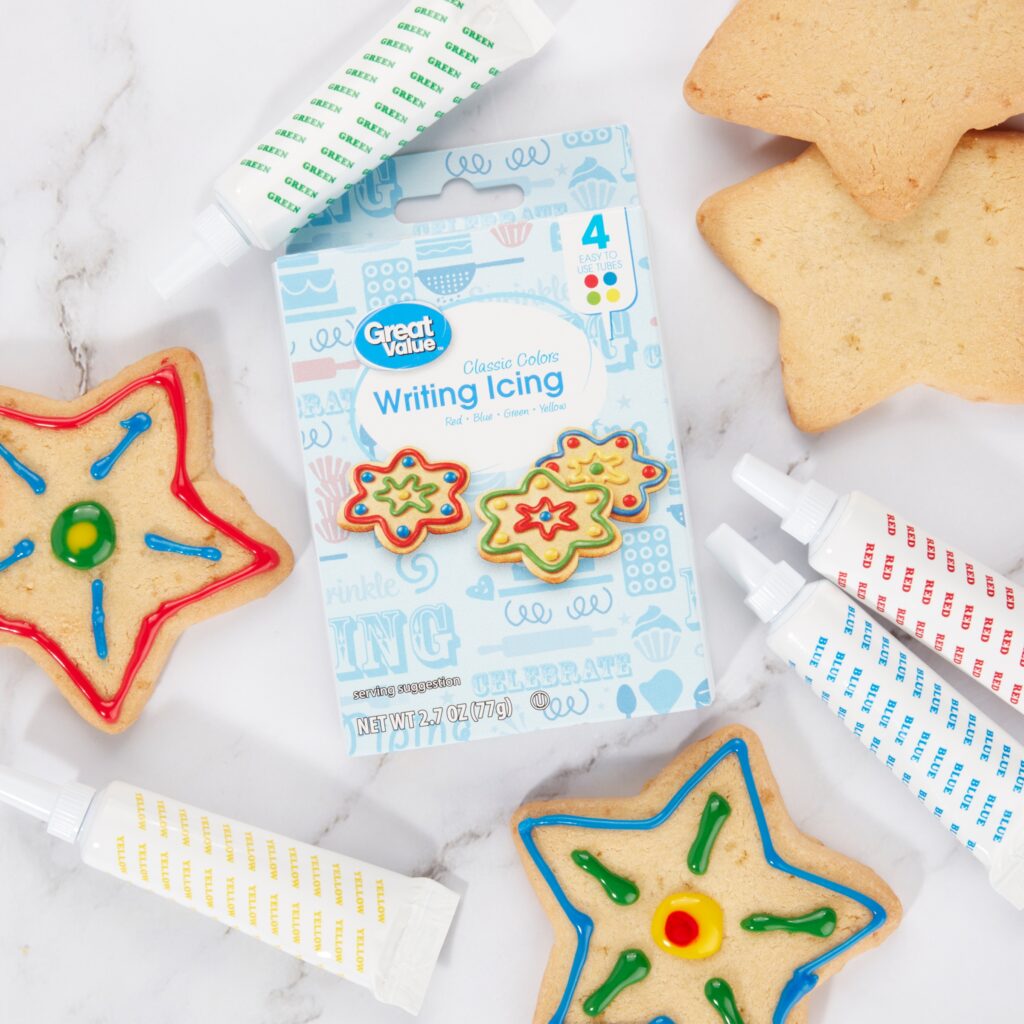
When the family comes over for Christmas, I plan on having several gingerbread houses ready for decorating. Anyone who wants will have their own small cake to decorate. I have different cookie icings and glittery sprinkles for the girls to use to decorate their cakes. The goal is to have much fun with this!
For the ease of the project with the girls, these are some of the items I purchased. However, You could use regular icing and a piping bag with different tips for variety if you wanted.
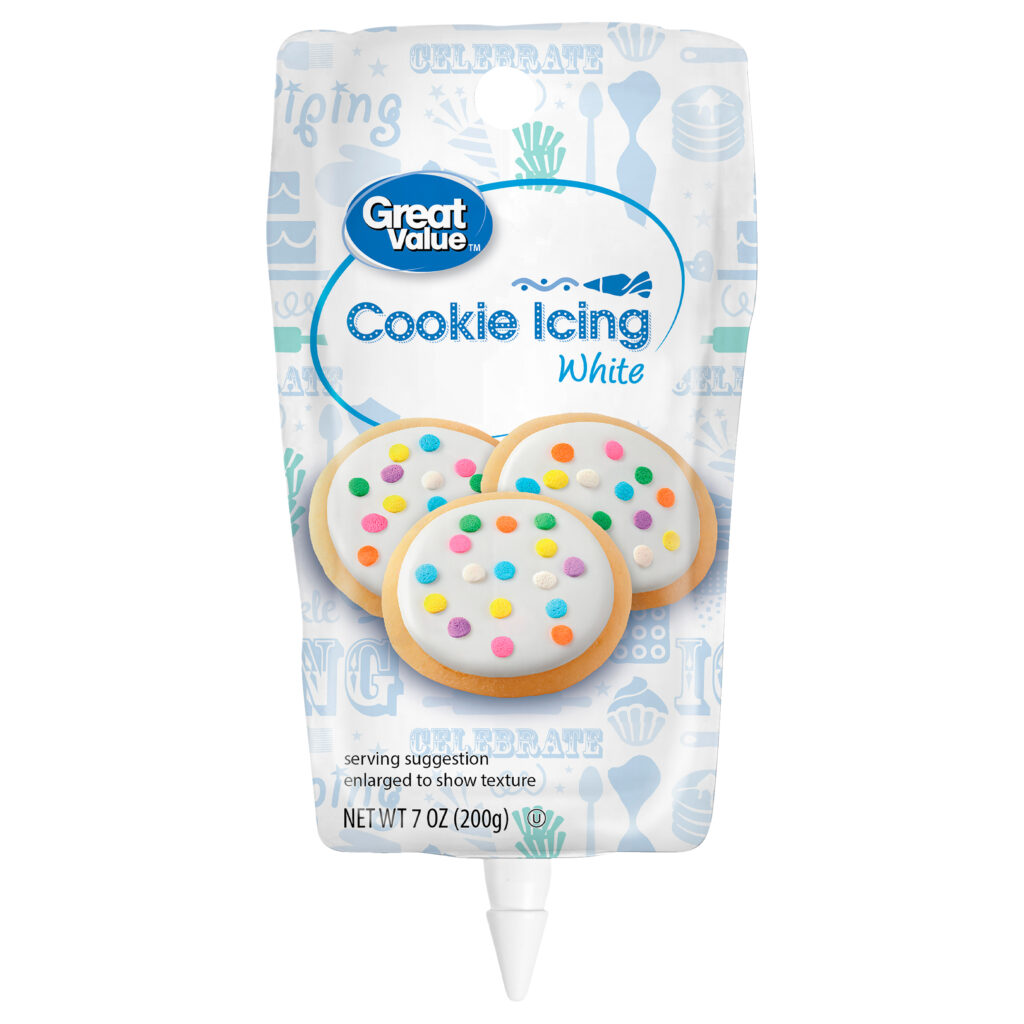
Cookie Icing
Multi Pack of Writing Icing
Making this snowy gingerbread cake village was really a fun project, and it was great for the holiday season. I am looking forward to sharing all of the ideas that people shared at our 2nd Annual 12 Days of Christmas celebration. So far, everything has been amazing! You will not want to miss seeing their creative ideas!
Join Us
Sign up below to get updates about new posts. The candy recipes are delicious, easy, and just in time for Christmas!
If you are looking for any of these items, I have affiliate links above for most of them, or you can find them here. Some of the items may have to be an in store purchase.
Related Posts
Gingerbread Village Cake by Tastemade
How to Make Granny Joy’s Chocolate Cake
Until next week…


disclosure: Amazon affiliate links are used on this page. Thank you for supporting Home with Grace and Joy. When you purchase an item, I receive a small commission at no additional cost to you. See my full disclosure and privacy policy on the website.
“Let the whole earth shout to the Lord; be jubilant, shout for joy, and sing.” Psalms 98:4


Such a fun way to celebrate the days leading up to Christmas, Susan! I love the way these came together, they’re so pretty. Especially with the way you added the powdered sugar snow. The way you have everything displayed was really cute too. Hugs, CoCo
Thank you CoCo! I love our 12 Days of Christmas. In fact, I am not feeling too well this morning, but I don’t want to miss it, so I am going to school this morning. That sounds ridiculous, but it is a fun way to make it to Christmas break. 😂
These are adorable, Susan, and would fit into my kitchen decor perfectly this year. Merry Christmas to you and your family.
I can definitely see them in your kitchen. I love the tour you did recently! Your home is absolutely beautiful! Have a Merry Christmas also!
What a delightful idea! Your tutorial on creating a Snowy Gingerbread Cake Village is perfect for adding a festive touch to holiday table. Thanks for joining Fiesta Friday Party and hope to see you again.
Thank you so much! It was a lot of fun. I’m making a few later this week for my grandkids to decorate. Have a Merry Christmas!